On this Page:
Download and Install the Integrator
- Connect to Fishbowl
- Authenticate with Fishbowl
- Authorise SalesIn Integrator to communicate with Fishbowl
- Authenticate with SalesIn
- Choose Basic Settings
- Finish Up
Initial Set-Up
We’ve taken great lengths to make this process as quick and painless as possible. Just follow the below steps and you'll be up and running in no time!
Download and install the Integrator
- In order to transfer data between Fishbowl and SalesIn, you must first download the SalesIn Integrator. You can do this by clicking this link.
- Install the software by following the prompts.
- Once it is installed, double click the icon on your desktop, it will be called 'SalesIn for Fishbowl' and look like the below:

Setup the Integrator
When you first start the SalesIn Integrator, you will see a setup wizard to help you get started:
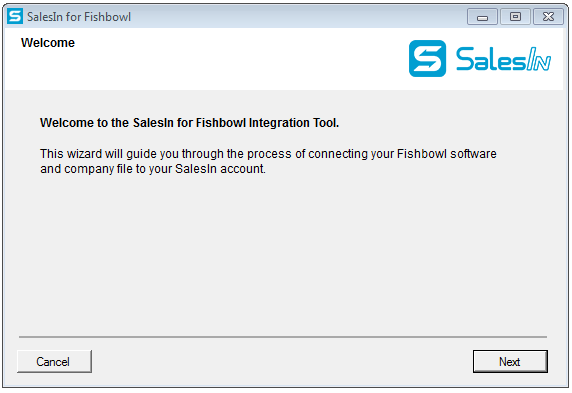
Click on Next to begin configuring the software.
1. Connection to Fishbowl
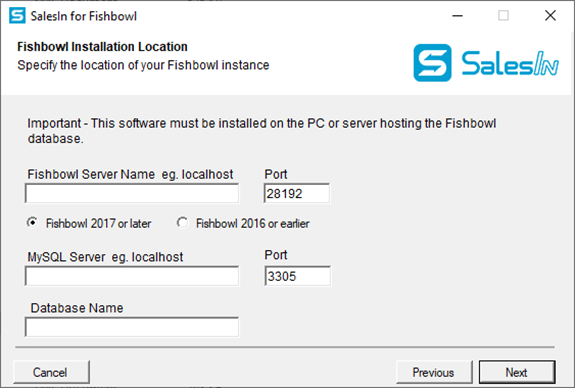
- Enter the Fishbowl Server Name (usually localhost if you are installing this on your Fishbowl server). This is preferred.
- Followed by the Fishbowl Server Port (default is 28192) - you shouldn't need to change this, unless you know your port is different.
- MySQL Server, should be the same as the Fishbowl Server Name (localhost).
- Followed by MySQL Server Port (default is 3305) - you shouldn't need to change this.
- You will also need to enter the Database Name exactly as it appears on your Fishbowl Server. You can obtain this information by looking at your Fishbowl Server settings.
2. Authenticate with Fishbowl
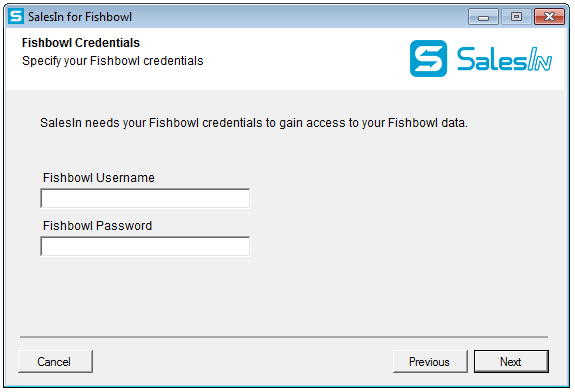
Enter the credentials of a Fishbowl user, (it is preferred you use the Admin user) and click on Next to continue.
If this is the first time you are setting up the SalesIn Integration with Fishbowl, you will receive an error message after selecting next when authenticating with Fishbowl, stating “Please check that SalesIn has been given permission to access the Fishbowl data (Fishbowl Company Settings, Integrated Apps)”.
3. Authorise SalesIn Integration to communicate with Fishbowl
To do this, follow these steps:
- Open Fishbowl and login as the Admin user.
- Navigate to the Setup menu, then Settings.
- Click Integrated Apps.
- Look for SalesIn Integration and highlight it.
- Click the green tick to change the Status from Pending to Accepted.
Once these steps have been completed, close Fishbowl and click next again on the SalesIn Integrator. Note: if you are still getting an error, the Fishbowl details are incorrect.
4. Authenticate with SalesIn

Enter the SalesIn credentials you have set up your account with and click Next.
5. Choose basic settings
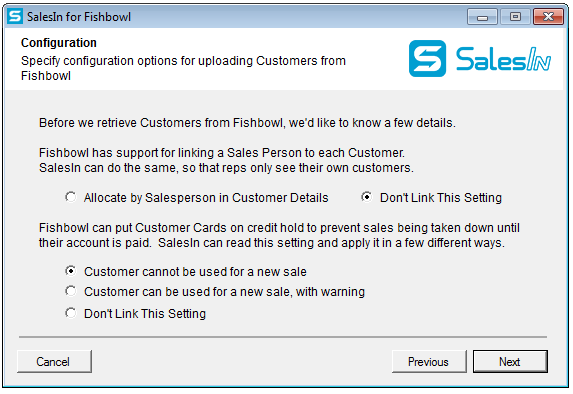
This screen explains a series of preferences with relation to how your Customers will be uploaded. These can be changed later, and if you are unsure, set both to 'Don't Link this setting'. Click on Next.
5. Finish up
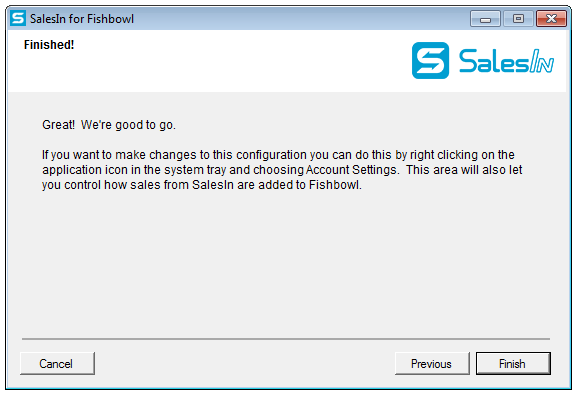
You’re done!
Click on Finish to close the wizard.