On this page:
Download & Install the Integrator
- MYOB Installation Location
- Authenticate with MYOB
- Authenticate with SalesIn
- Choose Basic Settings for Uploading Customers
- Choose Basic Settings for Uploading Items
- Finish
Initial Set Up
We’ve taken great lengths to make this process and quick and painless as possible.
Just follow the below steps and we’ll get you up and running in no time!
Download & Install the Integrator
- In order to transfer data between MYOB and SalesIn, you must first download the SalesIn Integrator. You can do that by clicking this link.
- Install the software by following the prompts.
- Once it is installed, double click the icon on your desktop, it will look like the below:

Setup the Integrator
When you first start the SalesIn Integrator, you will see a setup wizard to help you get started:
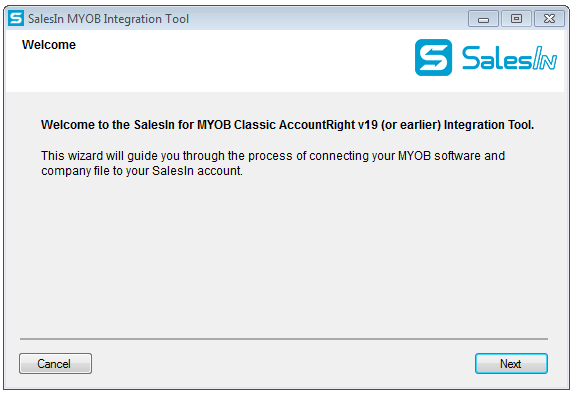
Click on Next to begin configuring the software.
1. MYOB Installation Location
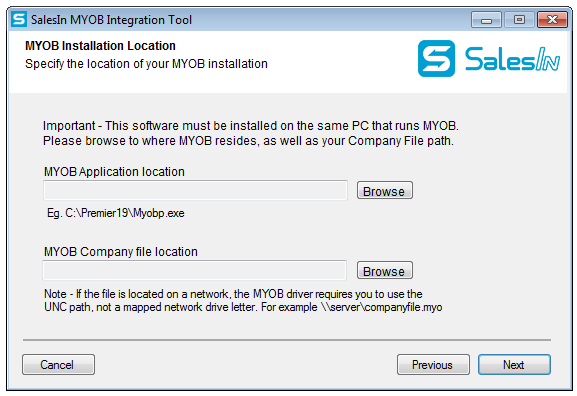
- In order to transact data with MYOB, the SalesIn needs to know the location of your MYOB application’s executable (or .exe file), as well as the data file path.
- Enter the MYOB Application Location (usually C:\MYOB19 or similar) followed by the MYOB Company File Location.
- Important – If your data file is stored on a network drive and not locally, you must use the UNCpath, not a mapped drive letter. For example, use \\server\companyfile.myo and not S:\companyfile.myo.
2. Authenticate with MYOB
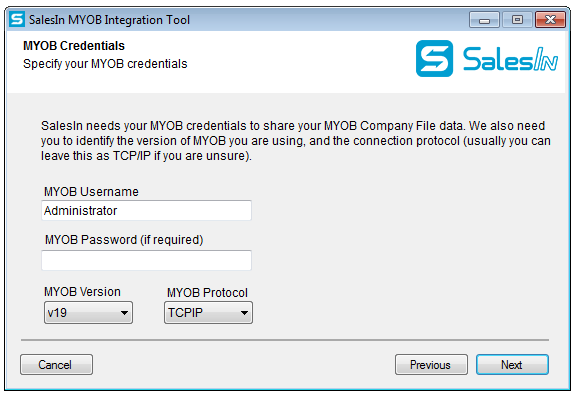
Enter credentials for logging into MYOB. These are your typical credentials that you use when you open up MYOB and log into your company file.
While you can use any MYOB user as long as they have appropriate permissions, it is recommended to create a user in MYOB that is only used with the SalesIn integration, to avoid that same user logging into MYOB while the integration is running.
Choose your MYOB version and protocol. If you are unsure about the protocol, try leaving it as TCP/IP. You can obtain this information from your login screen when logging into MYOB.
ODBC Activation
When you are ready, click on Next to continue. Depending on whether you have ever unlocked your MYOB data file for ODBC access, you may receive a message along the lines of “…the company file you specified needs to be activated by MYOB for ODBC access”. Unfortunately this means your company file needs to be unlocked before you can continue. The good news is that we can do this for you at no charge. Drop us a line by emailing support@salesin.com, along with your MYOB Serial Number. You can find your Serial Number by logging into MYOB, then clicking on the Setup menu, then Company Information.
3. Authenticate with SalesIn
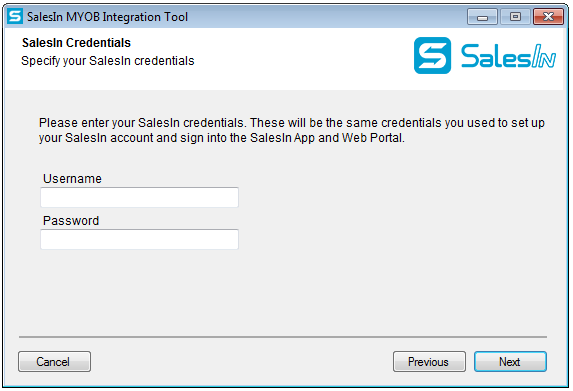
Enter the SalesIn credentials you have set up your account with and click Next.
5. Choose basic settings for uploading Customers
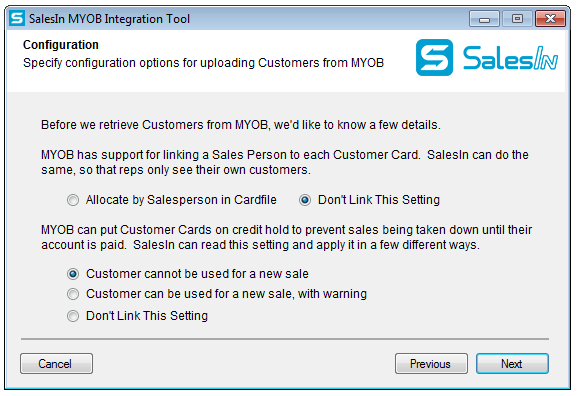
This screen explains a series of preferences with relation to how your Customers will be uploaded.
These can be changed later, and if you are unsure, select 'Don't Link this Setting'.
Click on Next.
6. Choose basic settings for uploading Items
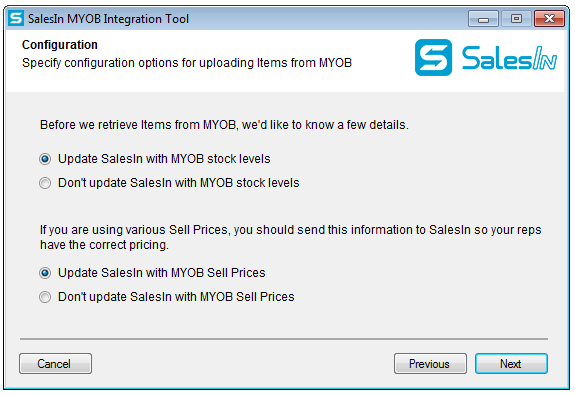
This screen explains a series of preferences with relation to how your Items will be uploaded.
These can be changed later, and if you are unsure, just choose the defaults.
Click on Next.
7. Finish up
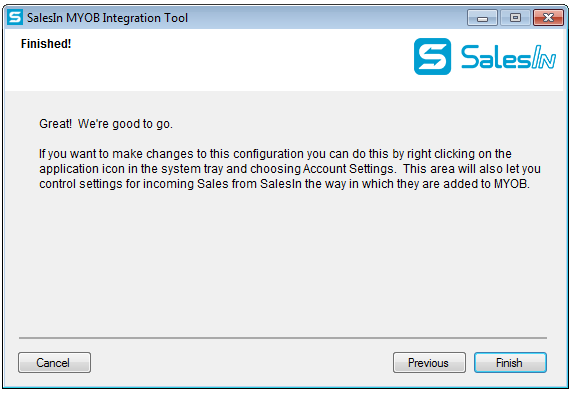
You’re done!
Click on Finish to close the wizard.